
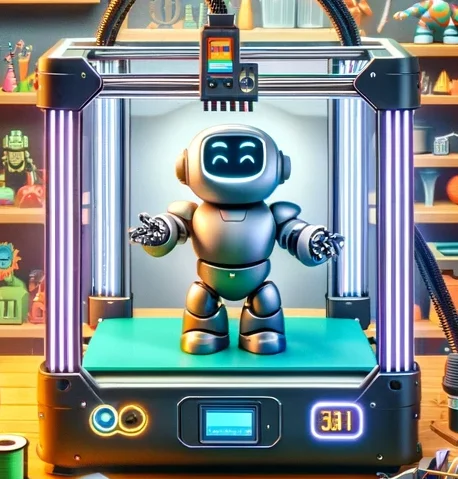
Slicing and printing
Preparing your 3D model for printing and starting your first print.
Preparing your 3D model for printing involves several steps, including slicing your model and preparing your printer for printing. Here are the basic steps to follow:
- Choose your slicing software: There are many slicing software options available, such as Cura, PrusaSlicer, and Simplify3D. Choose the software that is best for your printer and your needs.
- Import your model: Once you have chosen your slicing software, import your 3D model into the software. Most slicing software will accept a variety of file formats, such as .STL, .OBJ, or .AMF.
- Position and scale your model: Use the software’s tools to position and scale your model to fit your printer’s build area. Make sure your model is not too large or too small for your printer.
- Add supports (if needed): If your model has overhangs or other features that need support during printing, add support structures using the software’s tools.
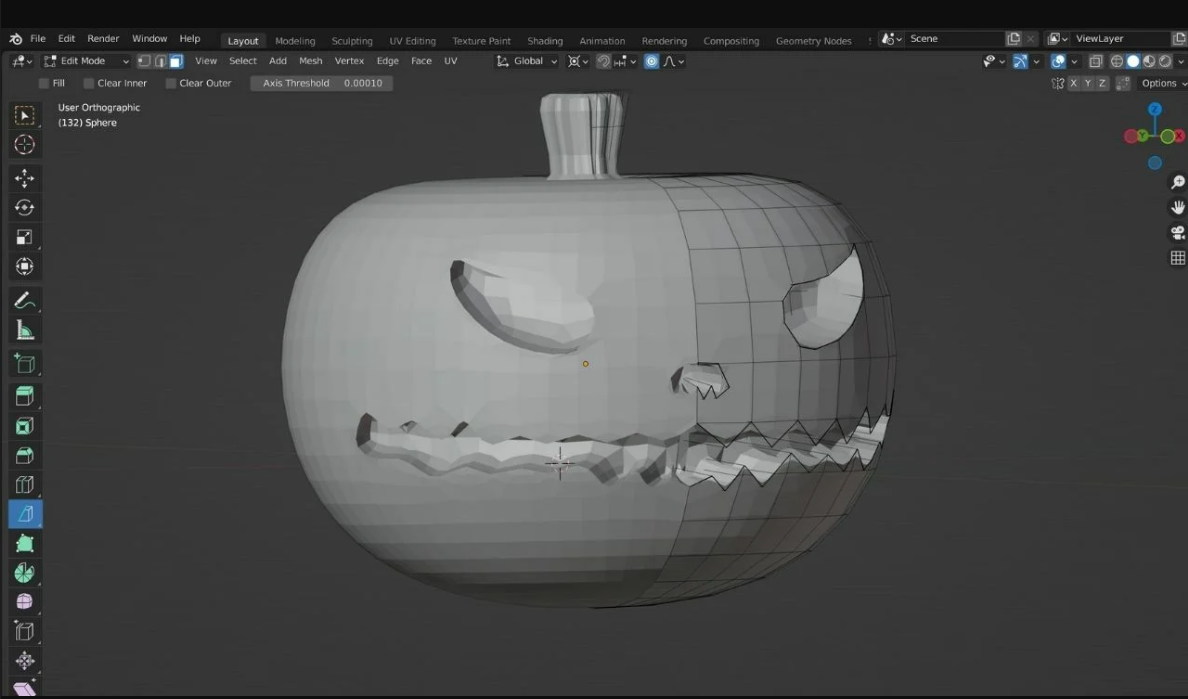
- Slice your model: Once you have prepared your model, use the software to slice it into layers that your printer can print. This involves setting parameters such as layer height, print speed, and infill density.
- Save your sliced file: Save your sliced file in a format that your printer can read, such as .gcode.
- Load your sliced file onto your printer: Once your sliced file is saved, load it onto your printer either via a USB drive or over a network connection.
- Calibrate your printer: Before you start printing, make sure your printer is properly calibrated. This includes setting the bed level, adjusting the nozzle height, and ensuring that your printer is properly calibrated for filament type and temperature.
- Start printing: Once your printer is calibrated and your sliced file is loaded, start your print job. Make sure to monitor your printer during printing to ensure that everything is working properly.
- Remove your finished print: Once your print is complete, carefully remove it from the printer’s bed. Use a spatula or other tool to gently pry the print from the bed, taking care not to damage the print or the printer’s bed.
Congratulations! You have successfully prepared and printed your 3D model.