The future of 3D printing

Exciting developments in the field and its potential applications.

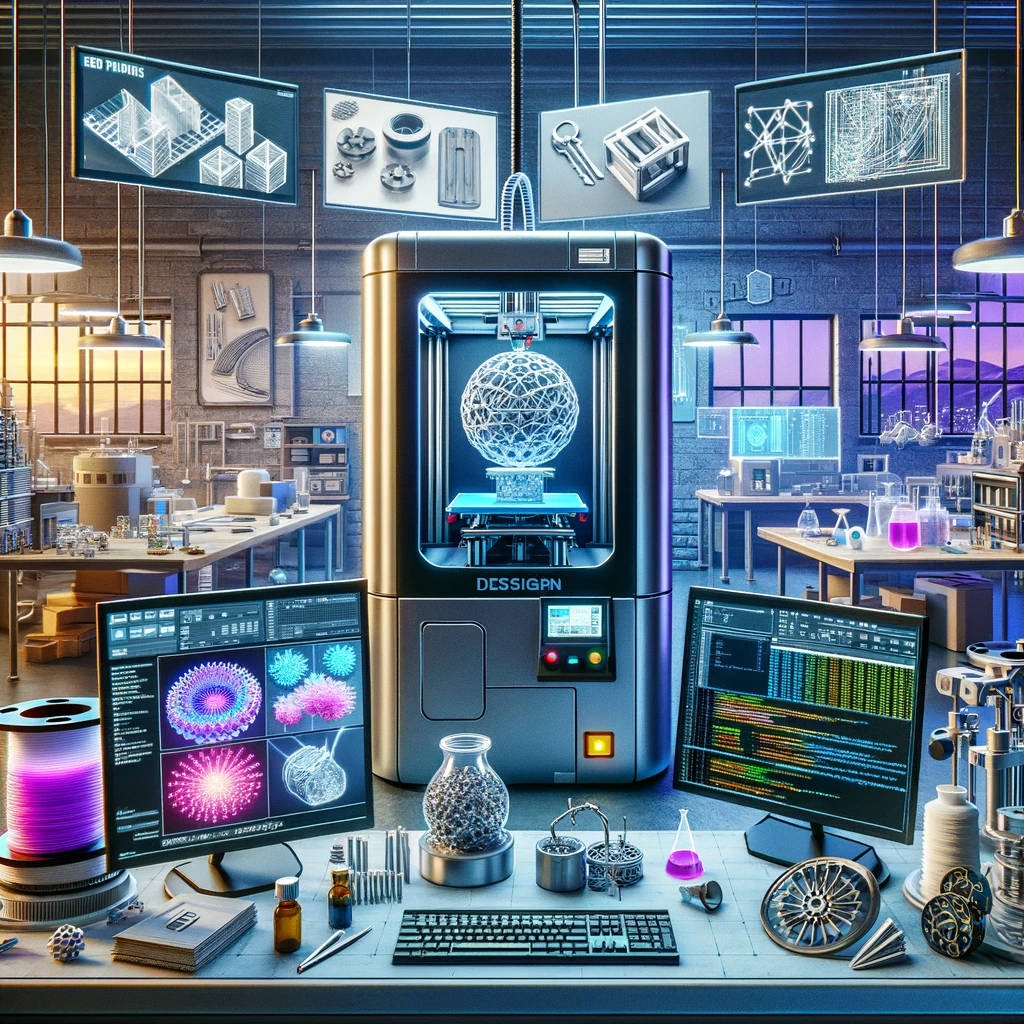
The future of 3D printing is incredibly promising, with many exciting developments in the field and a vast range of potential applications. Here are some of the most significant developments and potential applications:

  1. Bioprinting: 3D printing is being used to create living tissues, organs, and even bones. This technology has the potential to revolutionize the field of medicine, allowing doctors to create custom implants and prosthetics for their patients.
  2. Construction: Large-scale 3D printing is being used to build houses, bridges, and other structures. This technology could significantly reduce the cost and time needed to build infrastructure.
  3. Food printing: 3D printers are being used to print food, creating intricate designs and shapes that would be impossible with traditional cooking methods. This technology has the potential to revolutionize the food industry, allowing chefs to create unique dishes that are visually stunning.
  4. Aerospace: 3D printing is being used to create lightweight, high-strength parts for airplanes and spacecraft. This technology could significantly reduce the weight of these vehicles, making them more fuel-efficient and reducing their carbon footprint.
  5. Fashion: 3D printing is being used to create customized, one-of-a-kind fashion items, including clothing, shoes, and jewelry. This technology has the potential to transform the fashion industry, allowing designers to create unique pieces that are tailored to individual customers.
  6. Education: 3D printing is being used in classrooms to teach students about science, engineering, and design. This technology allows students to create physical models of their ideas, helping them to better understand complex concepts.
  7. Art: 3D printing is being used to create intricate sculptures and other art pieces that would be impossible to create using traditional methods. This technology has the potential to transform the art world, allowing artists to create pieces that are more complex and detailed than ever before.

Overall, the future of 3D printing is incredibly exciting, with numerous potential applications across a wide range of industries. As the technology continues to develop, we can expect to see even more innovative uses for 3D printing in the years ahead.

Post-processing

Removing supports, sanding, and painting your prints.

Post-processing is an important step in 3D printing that helps improve the appearance and functionality of your printed parts. Here are some common post-processing techniques:

  1. Removing Supports: Supports are structures added to 3D prints to prevent overhanging parts from sagging or collapsing during the printing process. After printing, the supports need to be removed by carefully cutting or pulling them off the printed part. This can be done using a pair of pliers, tweezers, or a sharp knife. Be sure to remove all the supports carefully without damaging the printed part.
  2. Sanding: Sanding helps smooth out the surface of the printed part, removing any rough edges, bumps, or imperfections left behind by the printing process. It is recommended to use sandpaper with progressively finer grits, starting with a coarse grit (e.g. 100 grit) and gradually moving up to a fine grit (e.g. 800 grit). Sanding can be done manually or with the help of a rotary tool or sanding machine.
  3. Painting: Painting can be done to add color, texture, and protection to your printed parts. Before painting, make sure the surface of the printed part is clean and free of any debris or dust. Apply a primer to the part to help the paint adhere better. Then, apply the desired paint using a brush, spray can, or airbrush. Allow the paint to dry completely before handling the part.

Other post-processing techniques include smoothing with acetone vapor, filling gaps with filler or putty, and polishing with a polishing compound. The choice of post-processing technique will depend on the material used for printing, the desired finish, and the intended use of the printed part.

Enhancing your prints

Using supports, rafts, and other printing techniques to improve print quality.

When it comes to 3D printing, there are several techniques you can use to enhance the quality of your prints. Supports, rafts, and other printing techniques can help to improve print quality and ensure that your prints come out looking great.

  1. Supports: Supports are structures that are printed along with your model to provide additional support for overhanging parts. They are typically printed in the same material as your model, but can also be printed in a different material if necessary. Supports can be automatically generated by your slicing software, or you can add them manually to your model using CAD software. Removing supports after printing can sometimes leave marks on the surface of your model, but they are usually easy to clean up with some sandpaper or a file.
  2. Rafts: Rafts are thin layers of material that are printed underneath your model to provide additional adhesion and stability. They are especially useful for printing large or complex models, or models with small contact points. Rafts can be automatically generated by your slicing software, or you can add them manually using CAD software. Removing rafts after printing is usually easy, and they can help to prevent warping and other print issues.
  3. Brims: Brims are similar to rafts, but they are printed around the edges of your model rather than underneath it. They can help to prevent warping and provide additional adhesion, especially for models with small contact points. Brims are usually easy to remove after printing, and can be generated automatically by your slicing software.
  4. Layer Height: Changing the layer height of your prints can also help to improve print quality. A lower layer height will result in smoother surfaces and finer details, but will also increase print time. A higher layer height will result in faster prints, but with lower resolution and surface quality. Finding the right balance between print quality and speed is key to achieving great results.
  5. Bed Leveling: Ensuring that your print bed is level is critical for achieving good print quality. Uneven or warped beds can cause parts of your model to be under-extruded or over-extruded, resulting in poor quality prints. Most 3D printers have automatic bed leveling systems, but it’s always a good idea to manually check and adjust the bed level before each print.
  6. Cooling: Cooling is also important for achieving good print quality. A fan can be used to cool the filament as it’s being extruded, which can help to prevent stringing and other print issues. Many slicing software programs have settings for controlling fan speed during printing, which can be adjusted to achieve the best results for your specific model.

By using these techniques, you can significantly improve the quality of your 3D prints and achieve the results you’re looking for.

3D printing materials

An overview of different types of filaments and their properties.

3D printing materials, also known as filaments, are the materials used to create physical objects using a 3D printer. There are several types of filaments available for 3D printing, each with their own unique properties and applications. Here is an overview of some of the most commonly used filaments:

  1. PLA (Polylactic Acid) – PLA is one of the most popular 3D printing materials. It is made from renewable resources and is biodegradable, making it an environmentally-friendly option. PLA is easy to use, has a low melting point, and is ideal for printing detailed objects. However, it can be brittle and may not be suitable for objects that will be exposed to high temperatures or stress.
  2. ABS (Acrylonitrile Butadiene Styrene) – ABS is a strong and durable filament that is often used to create functional objects. It has a high melting point and is resistant to impact and heat. However, it can be difficult to print with due to its tendency to warp and emit fumes during printing.
  3. PET (Polyethylene Terephthalate) – PET is a strong and lightweight filament that is commonly used to create functional parts. It has a high melting point and is resistant to impact and moisture. However, it can be difficult to print with due to its tendency to warp.
  4. Nylon – Nylon is a strong and durable filament that is ideal for creating flexible and functional objects. It has a high melting point and is resistant to impact and abrasion. However, it can be difficult to print with due to its tendency to absorb moisture and warp.
  5. TPU (Thermoplastic Polyurethane) – TPU is a flexible and rubber-like filament that is ideal for creating objects that require a high level of flexibility, such as phone cases and toys. It has a low melting point and is resistant to impact and abrasion. However, it can be difficult to print with due to its tendency to string and warp.
  6. PVA (Polyvinyl Alcohol) – PVA is a water-soluble filament that is commonly used as a support material. It dissolves in water, making it easy to remove from the final print. PVA is ideal for creating complex objects that require support structures. However, it can be expensive and may require special storage conditions to prevent moisture absorption.

These are just a few examples of the many different filaments available for 3D printing. When choosing a filament, it’s important to consider the desired properties of the final object and the printing capabilities of your 3D printer.

Slicing and printing

Preparing your 3D model for printing and starting your first print.

Preparing your 3D model for printing involves several steps, including slicing your model and preparing your printer for printing. Here are the basic steps to follow:

  1. Choose your slicing software: There are many slicing software options available, such as Cura, PrusaSlicer, and Simplify3D. Choose the software that is best for your printer and your needs.
  2. Import your model: Once you have chosen your slicing software, import your 3D model into the software. Most slicing software will accept a variety of file formats, such as .STL, .OBJ, or .AMF.
  3. Position and scale your model: Use the software’s tools to position and scale your model to fit your printer’s build area. Make sure your model is not too large or too small for your printer.
  4. Add supports (if needed): If your model has overhangs or other features that need support during printing, add support structures using the software’s tools.
  5. Slice your model: Once you have prepared your model, use the software to slice it into layers that your printer can print. This involves setting parameters such as layer height, print speed, and infill density.
  6. Save your sliced file: Save your sliced file in a format that your printer can read, such as .gcode.
  7. Load your sliced file onto your printer: Once your sliced file is saved, load it onto your printer either via a USB drive or over a network connection.
  8. Calibrate your printer: Before you start printing, make sure your printer is properly calibrated. This includes setting the bed level, adjusting the nozzle height, and ensuring that your printer is properly calibrated for filament type and temperature.
  9. Start printing: Once your printer is calibrated and your sliced file is loaded, start your print job. Make sure to monitor your printer during printing to ensure that everything is working properly.
  10. Remove your finished print: Once your print is complete, carefully remove it from the printer’s bed. Use a spatula or other tool to gently pry the print from the bed, taking care not to damage the print or the printer’s bed.

Congratulations! You have successfully prepared and printed your 3D model.

3D design basics

Creating your first 3D model with simple CAD software.

Creating your first 3D model can be a rewarding and exciting experience. Here are some basic steps to get started:

  1. Choose a CAD (Computer-Aided Design) software: There are many CAD software programs available, some free and some paid. Examples of free software include Tinkercad and Fusion 360, while paid options include SolidWorks and AutoCAD. Choose a software that fits your budget and level of experience.
  2. Understand the software interface: Spend some time exploring the software and understanding the basic tools available. Look for tutorials or user guides online to help you get started.
  3. Choose your object: Decide what you want to model. It’s a good idea to start with something simple, like a cube or a cylinder.
  4. Create your basic shape: Using the software’s basic shapes tools, create your chosen shape. For example, in Tinkercad, you can choose a cube from the shape library, adjust its dimensions, and then place it on the workplane.
  5. Edit your shape: Use the software’s editing tools to modify your basic shape. For example, you can use the push/pull tool to create an extrusion or the rotate tool to create a twist.
  6. Add details: Use the software’s additional tools to add details to your model. For example, you can use the hole tool to create a hole in your object or the fillet tool to add rounded edges.
  7. Export your model: Once you’ve finished creating your model, export it in a suitable file format. The most common file formats for 3D printing are STL and OBJ.
  8. Prepare your model for printing: If you plan to 3D print your model, you may need to prepare it for printing using a slicer software. This involves slicing the model into layers and adding supports if necessary.

These are some basic steps to create your first 3D model with simple CAD software. Remember to start with a simple object and take your time to learn the software’s tools and features.

Getting started with your first 3D printer

Unboxing and setting up your printer.

Congratulations on your new 3D printer! Here are some steps to help you get started:

  1. Unboxing and inspecting: Carefully unbox the printer and inspect all the contents to ensure that everything is present and undamaged. Most 3D printers come with a manual, power cord, USB cable, and some sample filaments. Make sure that you have all of these items.
  2. Choose a location: Choose a location where you can set up your printer. Make sure the location is flat and stable, and provides easy access to a power outlet.
  3. Assemble the printer: Follow the manufacturer’s instructions to assemble the printer. This can include attaching the spool holder, leveling the print bed, and installing any extruders or other components.
  4. Connect the printer: Connect the printer to a power outlet and turn it on. Connect the printer to your computer using the USB cable. Some printers may also have a Wi-Fi or Bluetooth option for connecting to a computer or smartphone.
  5. Install software: Install the software that came with your printer or download it from the manufacturer’s website. This software will allow you to control the printer and create 3D models.
  6. Test the printer: Before you start printing, it’s a good idea to do a test print to make sure everything is working correctly. The manufacturer’s instructions should include a test print file that you can use.
  7. Load filament: Load the filament into the printer according to the manufacturer’s instructions. Make sure that the filament is inserted correctly and that there are no tangles or knots.
  8. Start printing: You’re now ready to start printing! Use the 3D modeling software to create or download a 3D model, and then use the printer software to send the model to the printer.

Remember to be patient and take your time when setting up your printer. Don’t be afraid to ask for help if you need it, and always follow the manufacturer’s instructions. With a little practice, you’ll be creating amazing 3D prints in no time!

Introduction to 3D printing:

What is 3D printing and how does it work?

3D printing is a process of creating three-dimensional objects from a digital file using a 3D printer. It is also known as additive manufacturing because it involves adding layers of material until the desired object is formed.

The process of 3D printing typically starts with creating a 3D model on a computer using computer-aided design (CAD) software or a 3D scanner. The 3D model is then sliced into thin layers by the 3D printing software, which generates a code that controls the 3D printer.

The 3D printer then reads the code and starts building the object layer by layer. The printer uses various materials, such as plastic, metal, or even living cells, depending on the desired end product. These materials are deposited onto a build platform or bed, which moves up or down as each layer is printed.

The 3D printing process is highly customizable, allowing for the creation of objects with complex geometries, intricate designs, and custom specifications. It has applications in a wide range of fields, including medicine, engineering, architecture, fashion, and more.

Overall, 3D printing is a versatile and innovative technology that has the potential to revolutionize the way we manufacture and produce objects in the future.